Today, I came across a blog post from Cosmin (2024 vExpert) that teaches the reader how to create a new, Custom vCenter Role for Aria Operations using PowerCLI.
I went ahead and followed the steps, and had my new role created within 5 minutes. Super easy to follow steps. Great post, Cosmin!
Seeing the permissions that Cosmin provided sparked my curiosity.
What are all my choices? I wanted to see the “full menu”.

Let’s get to it.
My first try was to start with my Get command.
- #get- (tab)

This led me to these commands:
- # get-virole
- # get-vipermission
- # get-viprivilege

Let’s start with Get-VIRole and see what we get.
Get-VIRole- Shows all current roles

Let’s dive a little deeper and choose just one of these, and get a little more info on our choice.
get-VIRole "vStatsUser"Adding the pipe + “Select *” shows us the objects that belong to the target
get-virole "vStatsUser" | Select *
There it is. The format that I’m looking for is tied to the “PrivilegeList” object
- System., vStats.

Now let’s expand it!
- This is the suffix we want to replace “Select *” with (including the pipe)
- | select-object -ExpandProperty (name of the object)
get-virole "vStatsUser" | select-object -ExpandProperty PrivilegeList
Now that we know what object holds our information, let’s try and find a higher level parent to pull this info from.
My first thought was to take a look at the “Admin” role, but what if that role didn’t have all of these assigned? I wanted to get to the root.
This lead me back to the original “Get” commands. First up was Get-VIPermission.
- This command showed me the current roles, but not the actual permissions.

Get-VIPrivilege looked promising, but the output wasn’t in the same format as the object from up above.
- Maybe it’s in here, but it’s just not the “default” view when the command is called.

Like always, I started with just 1 object to expand and go from there.
- Remember, this is what we append to the first get command in order to see the objects
- | Select *
- # get-viprivilege “Anonymous” | Select *
- | Select *
get-viprivilege "Anonymous" | Select *
There it is. It’s the “Id”
- Parent = “Get-Privilege”
- Child = “Get-Privilege “Anonymous”
Let’s focus on that single “Object” at the parent level.
- # get-viprivilege | Select-Object “Id”
get-viprivilege | Select-Object "Id"
Partial Victory

I still didn’t know what each of these actually did, so I needed more info.
I didn’t want to run this command, because it was spit out so much information, but it was necessary in order to learn.
Get-VIPrivilege | Select *
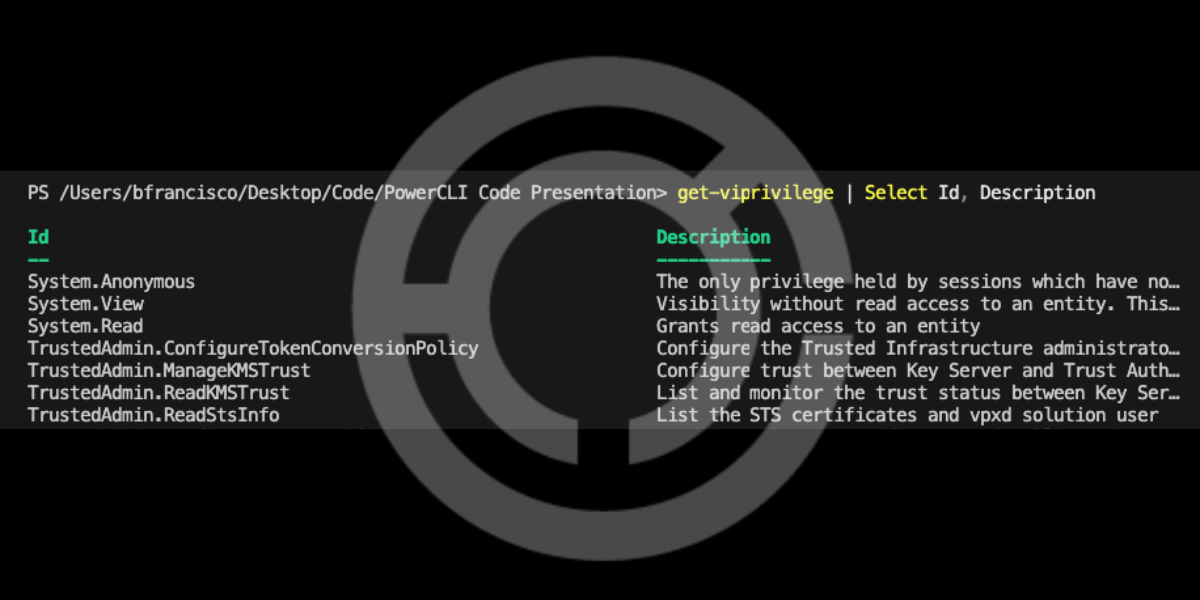
After running that command, I know I want to see both the Id and its Description.
Get-VIPrivilege | Select Id, Description
Let’s export this to a CSV to make it easier to read/share.
get-VIPrivilege | Select Id, Description | Export-csv PermissionsReport.csv -NoTypeInformation
That’s it! We have come out of the rabbit hole with our victory 🙂

Luckily, if a product does require specific permissions to vCenter, the product team usually provides the end user with a script or a list of said permissions to easily create the new role with automation.
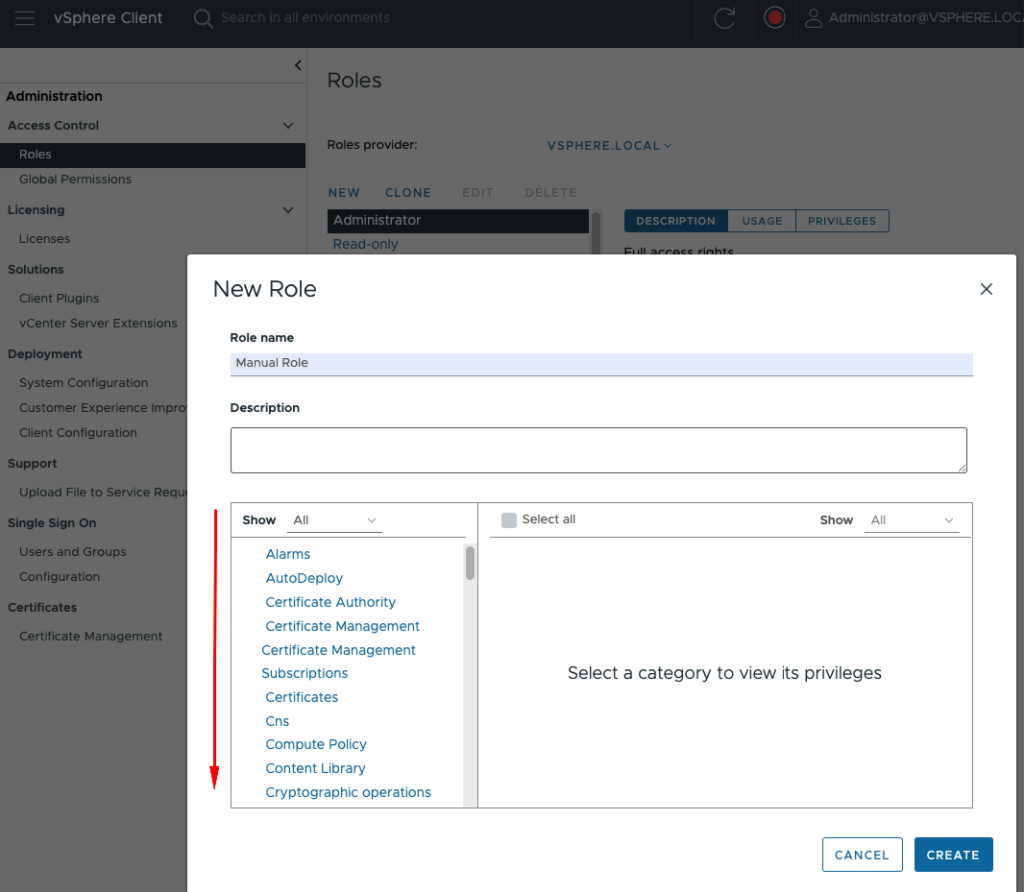
If your role requires just a few permissions, by all mean, do this manually. If that’s not the case, trust me. The menu is large, and that can lead to mistakes.
- vSphere -> Administration -> Roles -> New
- On the left, are all your options.


